

- Recubrimiento OPático
- Moldeo óptico
- Herramientas ópticas
- Videos de Herramientas
- Prisma & Filtros
- Partes ópticas personalizadas
- Iluminación & Iluminación
- Medicina & Endoscopia
- Aplicaciones ópticas
- Óptica automotriz
- Imagen & Visión
- Capacidades ópticas
- Productos & Aplicaciones
- Recurso
- Ópticas de vidrio personalizadas
- Moldes ópticos
- Electrónica de consumo
- Visión industrial
- Lentes Asféricas
- Lentes Esféricas
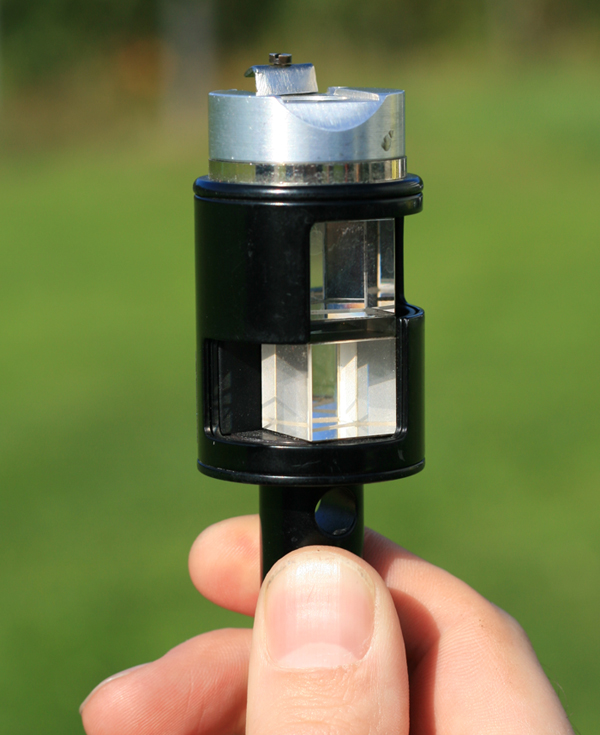
RFQ de prisma de ángulo recto: Proteger la cara de reflexión
Indagación- Descripción
A right-angle prism is easy to identify on a mechanical drawing, but the same glass shape can support different beam paths. The supplier needs to know which face receives the beam, which face provides reflection and which face sends it into the next component. Include a ray sketch next to the surface labels rather than relying on the familiar triangular outline.
Describe the optical boundary
A prism using total internal reflection relies on the refractive-index boundary and angle at the reflecting face. The assembly should state whether that face must remain clear of adhesive, pads or other materials. If the design instead calls for a reflective coating, specify the coating function, wavelength range and incident condition, and distinguish it from any antireflective coating on transmitting faces. Do not silently swap one configuration for the other.
Give mounting and inspection their own references
Label the locating face and mounting contact zones, keeping them distinct from the clear aperture. Indicate whether the acceptance check concerns beam deviation, mechanical angle or both; a dimension report and an optical beam check answer different questions. A simple assembly sketch can also identify which prism orientation must be checked during final assembly.
Use the first samples to settle the method
Request the drawing revision, face labels, sustrato, coating designation, apertura utilizable, expected beam direction and sample inspection setup in the quotation. For a functional check, agree the fixture reference and how the outgoing direction is reported. Where a vendor proposes a deviation from the drawing, ask for it explicitly in the quote before comparing parts.
Related reading: RFQ and project information. Referencia técnica: manufacturer application guidance.
Recurso, Blogs
ENVIAR CONSULTA
Productos relacionados
© Silveroptics 2026. Todos los derechos reservados
Funciona con Silveroptics
Servicio
